How to Install a Backsplash
How to Install a Kitchen Backsplash Without the Headaches Most Homeowners Face
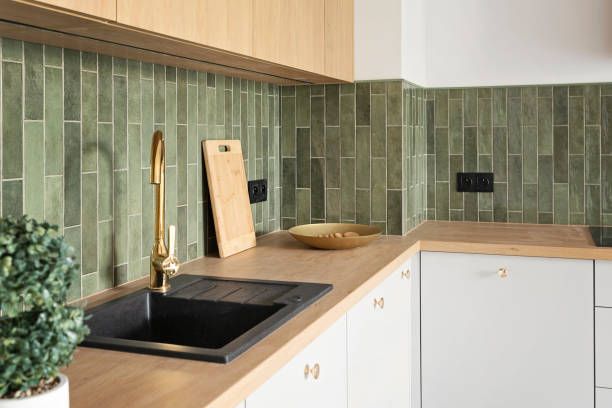
A kitchen backsplash may look like a small upgrade, but installing one correctly takes planning, precision, and patience. Homeowners often start a backsplash project thinking it’s a quick weekend job — only to realize halfway through how easy it is to end up with uneven lines, poor cuts, or grout problems.
If you’re researching how to install a kitchen backsplash, this guide breaks down the process in a clear, practical way — and explains when bringing in a professional can save you time, money, and frustration.
At Value Renovation, we install backsplashes as part of kitchen remodels throughout Temecula, Riverside County, San Bernardino County, and San Diego County, and we see firsthand what works — and what goes wrong. Contact us at 951-866-2333
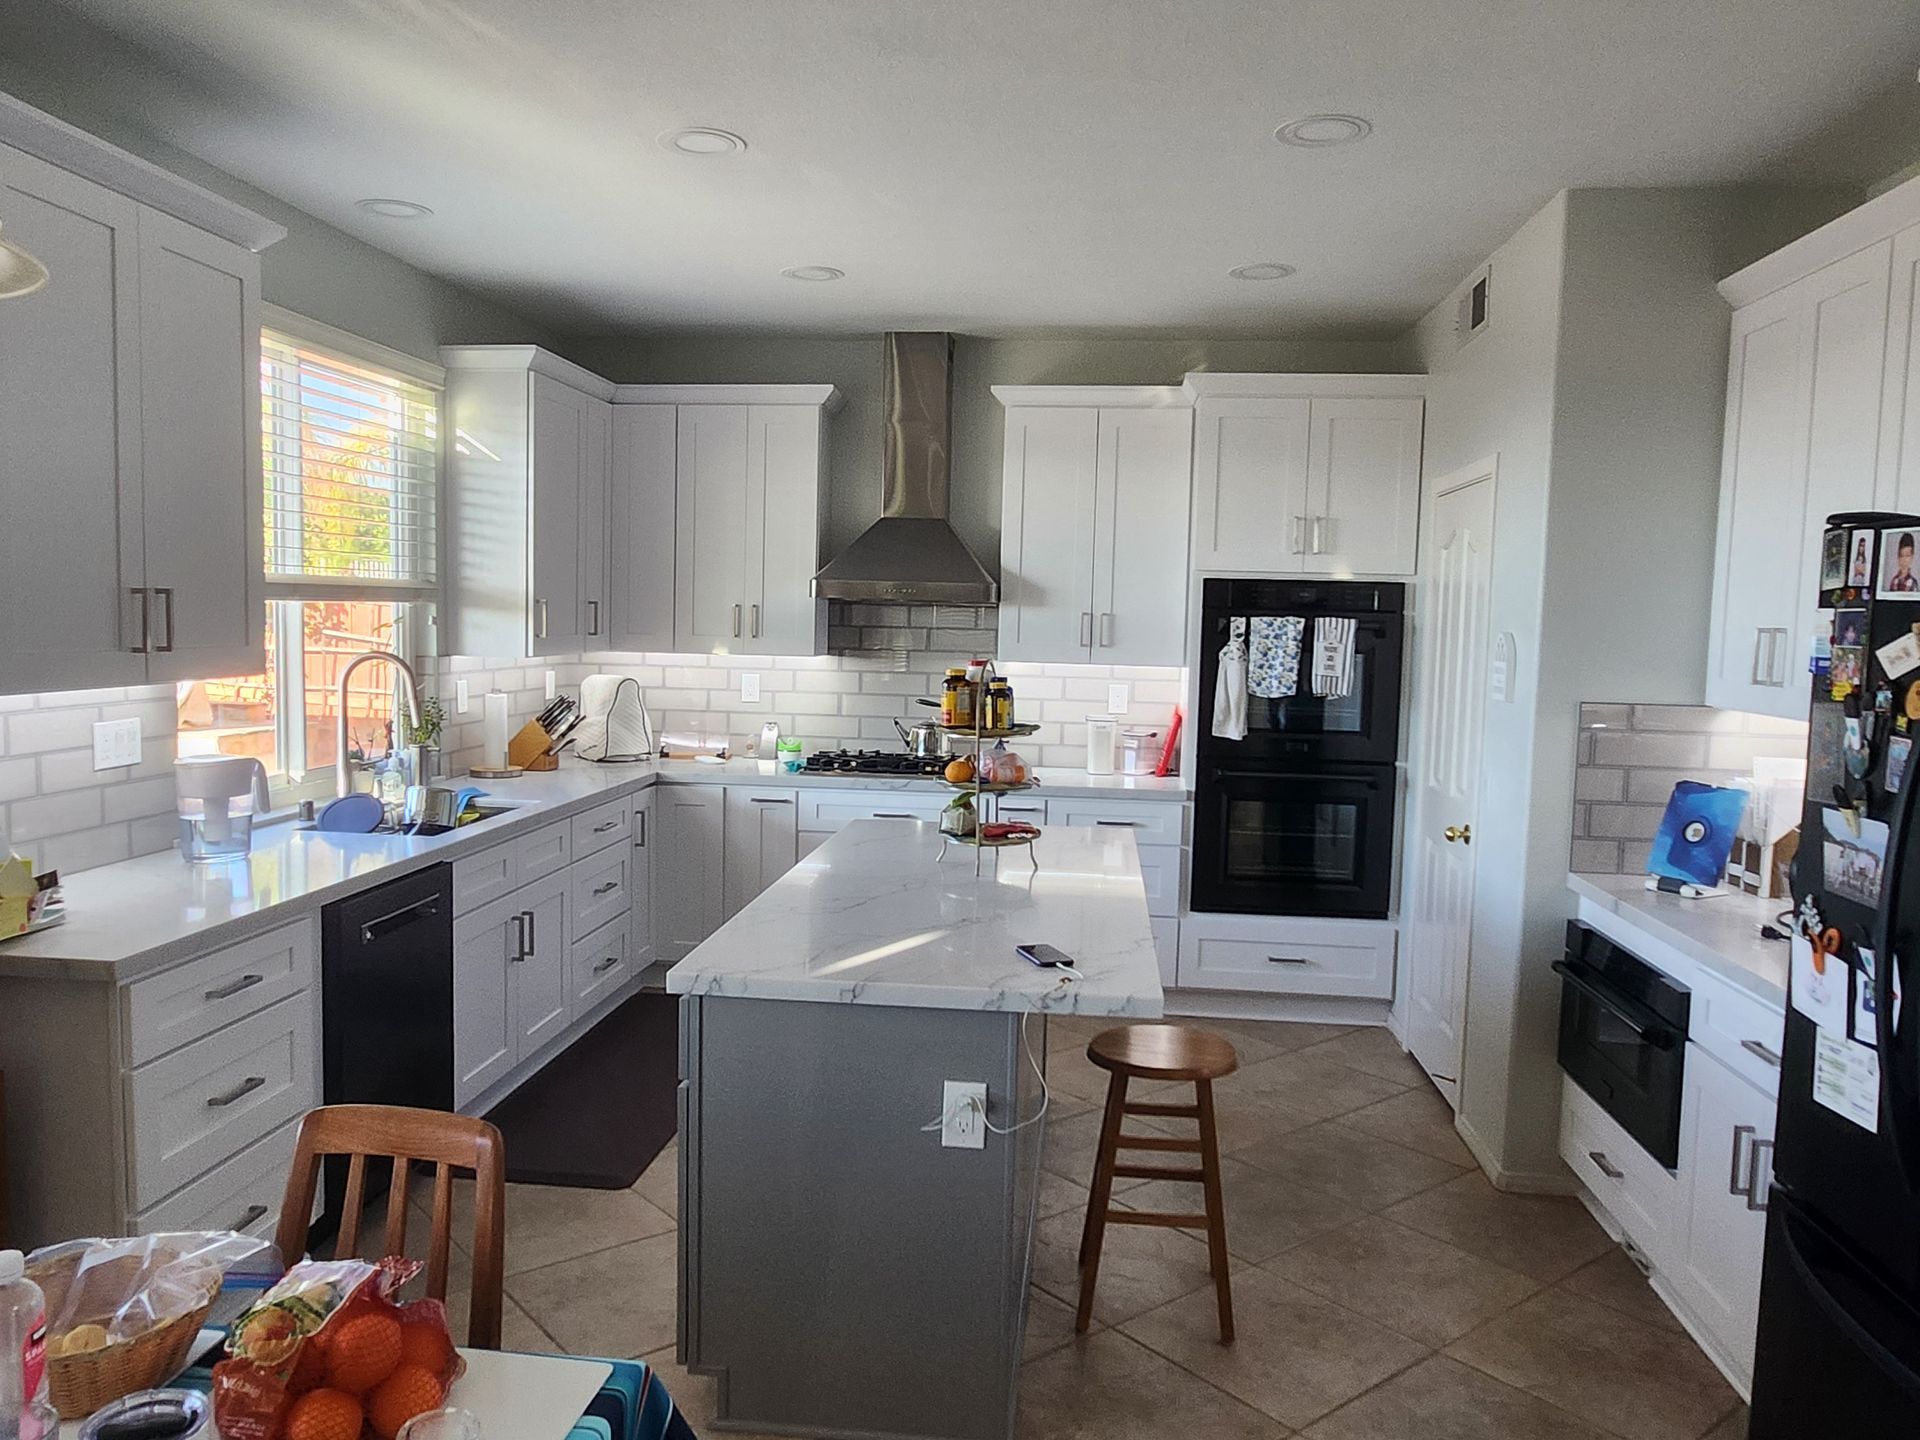
What a Kitchen Backsplash Really Does for Your Home
Beyond the visual appeal, a backsplash serves several important purposes:
- Shields drywall from moisture, heat, and grease
- Makes cleaning easier around cooking areas
- Adds contrast and texture to the kitchen design
- Helps modernize older kitchens without full renovations
When installed properly, a backsplash becomes a long-term upgrade instead of a temporary fix.
Materials and Tools You’ll Need Before You Start
Preparation is where most DIY backsplash projects succeed or fail.
Basic Tools:
- Tape measure and level
- Tile cutter or wet saw
- Notched trowel
- Grout float
- Tile spacers
- Utility knife
- Buckets, sponges, and rags
- putty Knife
- chalk line
Materials:
- Backsplash tile (ceramic, porcelain, glass, or stone)
- Thin-set mortar or tile adhesive
- Grout
- Sealant (for stone or grout lines)
- Painter’s tape
- Drywall tape (if you are removing and fixing an area that had a BS prior)
- All-purpose compound (if you are removing and fixing an area that had a BS prior)
- Drywall (if you are removing and fixing an area that had a BS prior)
How to Install a Kitchen Backsplash Step by Step
1. Prep the Surface
Turn off power at the breaker, remove outlet covers, and clean the wall thoroughly. Any grease, dust, or uneven texture can prevent tiles from bonding correctly. Remove existing backsplash or countertop backsplash 1st and patch if applicable.
2. Map Out the Tile Layout
Before any adhesive is applied, lay tiles out dry on the counter or floor. This allows you to plan cuts, avoid narrow edge pieces, and keep the design centered.
This step is especially important in kitchens with multiple outlets or irregular wall spacing.
3. Spread the Adhesive
Using a notched trowel, apply adhesive to the wall in small sections. Comb the mortar evenly to ensure consistent tile thickness.
Avoid covering too much wall at once — adhesive that dries before tile placement won’t hold properly.
4. Set the Tiles
Press tiles into place one at a time, using spacers to maintain uniform gaps. Check your level often — small shifts early can create noticeable misalignment by the end.
5. Cut for Outlets and Corners
Use a tile cutter or wet saw to make precise cuts around outlets, cabinets, and edges. Take your time here; rushed cuts are one of the most common DIY mistakes.
6. Grout the Tile
Once the tiles are fully set (usually 24 hours), remove spacers and apply grout with a float. Push grout deep into the joints and wipe off excess with a damp sponge.
7. Final Clean and Seal
After the grout cures, polish the tile surface and apply sealer if needed. This protects against stains, moisture, and discoloration over time.
Mistakes We See Homeowners Make All the Time
After years of professional backsplash installation, these issues come up repeatedly:
- Skipping layout planning
- Uneven grout lines
- Crooked tile rows
- Poor cuts around outlets
- Inadequate sealing
Fixing these problems after the fact often costs more than hiring a professional from the start.
DIY or Professional Backsplash Installation?
DIY Might Work If:
- The wall is perfectly straight
- Tile layout is simple
- You have proper tools and time many DIYers will take between 30-40 hrs. to do a standard 25-35 SqFt backsplash depending on tile size and pattern.
Professional Installation Makes Sense If:
- The kitchen has multiple outlets or tight corners
- You want consistent grout lines and clean edges
- The backsplash is part of a larger kitchen remodel
Professional installation ensures durability, visual consistency, and long-term value.
Kitchen Backsplash Installation in Temecula and Surrounding Areas
Homeowners in Temecula, Riverside County, San Bernardino County, and San Diego County trust Value Renovation for quality kitchen remodeling and countertop and backsplash installation.
We help you select the right tile, plan the layout, and install it with precision — so it looks great today and holds up for years to come. Contact us at 951-866-2333
Final Takeaway
Installing a kitchen backsplash isn’t just about sticking tile to a wall — it’s about alignment, spacing, moisture protection, and finish quality. While DIY installation is possible, professional workmanship often makes the difference between a kitchen that looks “okay” and one that truly stands out.
If you’re planning a countertop and backsplash upgrade or full kitchen remodel, Value Renovation is here to help you get it done right. Contact us at 951-866-2333